Email account setup for Mozilla
- If this is the first time you are running Mozilla Mail, an
"Account Wizard"
window will open automatically. Skip down to step #3. Otherwise,
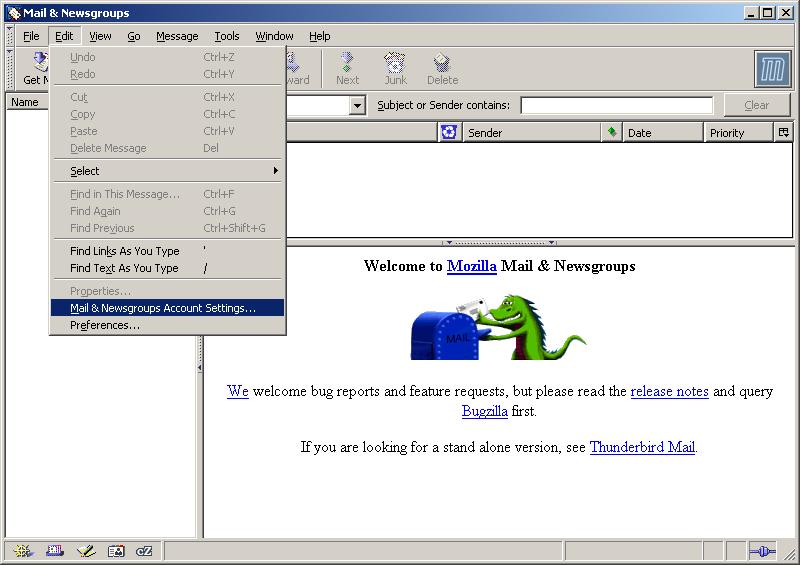
Under the "Edit" menu, select the "Mail & Newsgroups Account Settings..."
option.
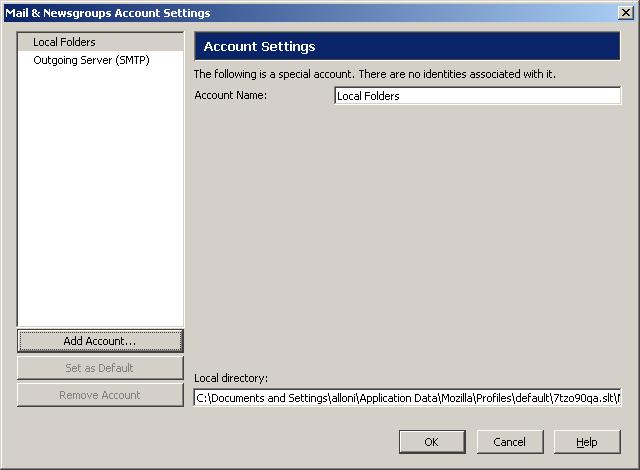
- A window called "Mail & Newsgroups Account Settings" should appear.
Press the "Add Account..." button (on the lower left).
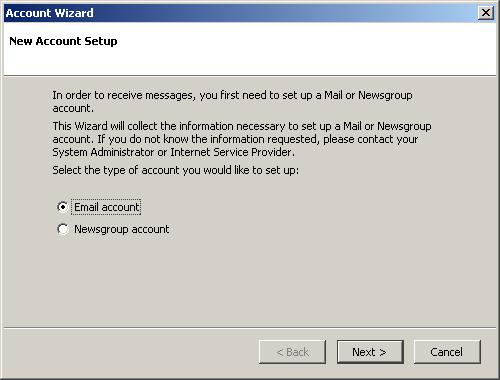
- A new window labeled "Account Wizard" will appear. Make sure the
"Email account" button is selected, then press the "Next >" button.
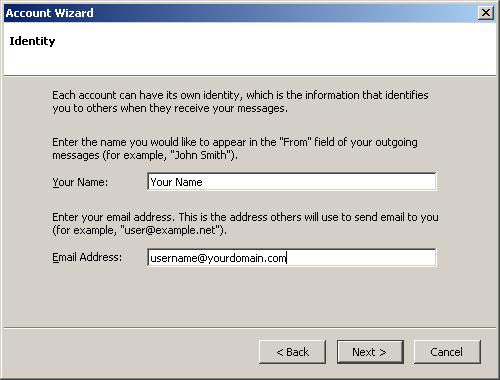
- Enter your name in the "Your Name:" box and your email address in the
box labeled "Email address:", then press
the "Next >" button again.
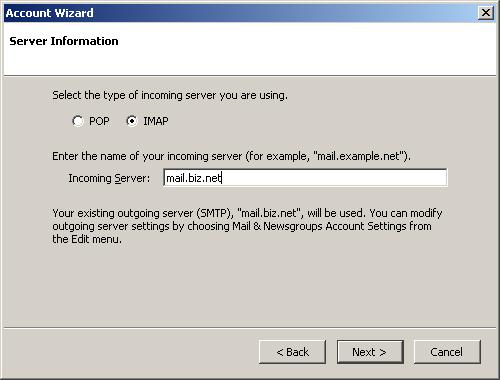
- The type of incoming server you should select is "IMAP", and you
should type "mail.biz.net" where it says "Incoming Server". If this is
the first time you are starting Mozilla Mail, it may ask you to enter your
outgoing server (SMTP). In this case, enter "mail.biz.net" there.
Press the "Next >" button
when you're done.
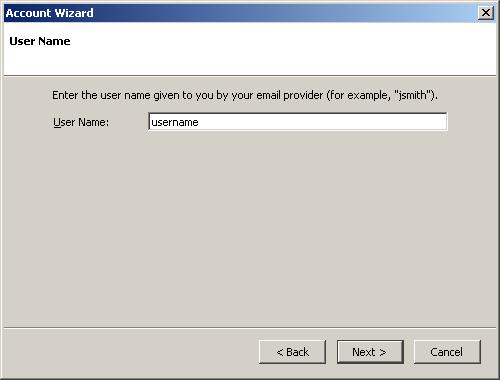
- Enter your user name in the "User Name:" box. Your user name should
be the first part of your email
address, the part before the @ symbol.
Press the "Next >" button.
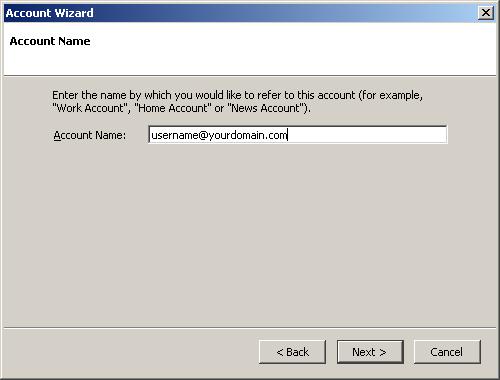
- Enter an "Account Name:". This can be anything you like to identify
this account. The default is your email address. Press "Next >" again.
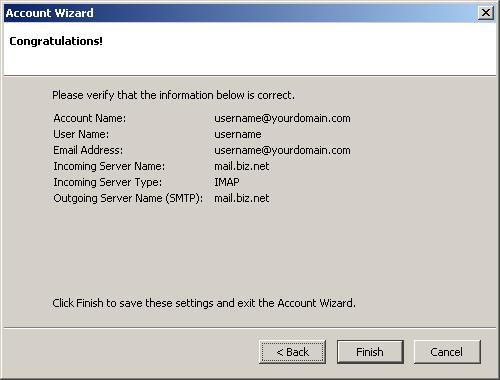
- The information on your screen should look something like this.
Press the "Finish" button.
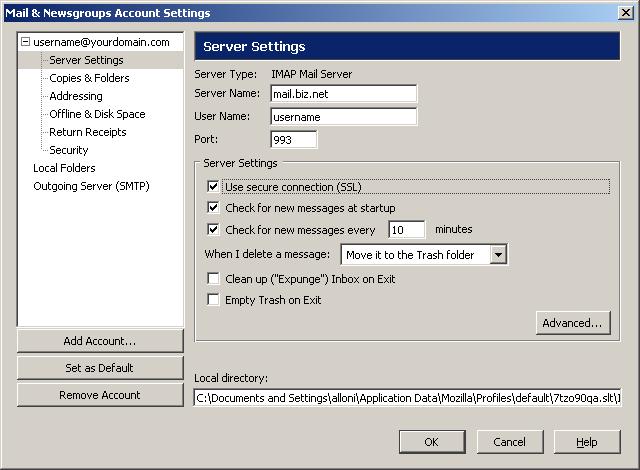
- You should be back to the "Mail & Newsgroups Account settings" window.
There will be a list of accounts on the left, one of which is the
Account Name you decided on earlier. Just under this is a selection called
"Server Settings". Select this. In the page which appears on the right side
of the window, one of the checkboxes should be called "Use secure connection
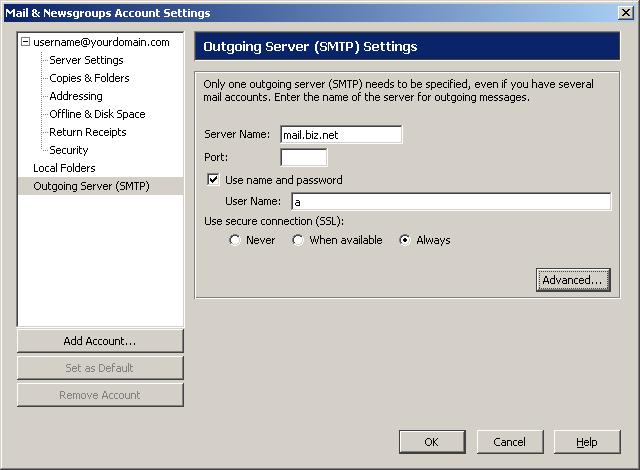
(SSL)". Make sure this is checked. Then, select the "Outgoing Server (SMTP)"
account name from the list on the left.
- Change the "Server Name:" to "mail.biz.net" if it is anything else. Make
sure the "Use secure connection (SSL)" is set to "Always" or "When available".
Click the "OK" button.
- You're done! Read your email!